


Complete creative workflow
Image to Image: A Practical Guide to Transforming a Visual Reference
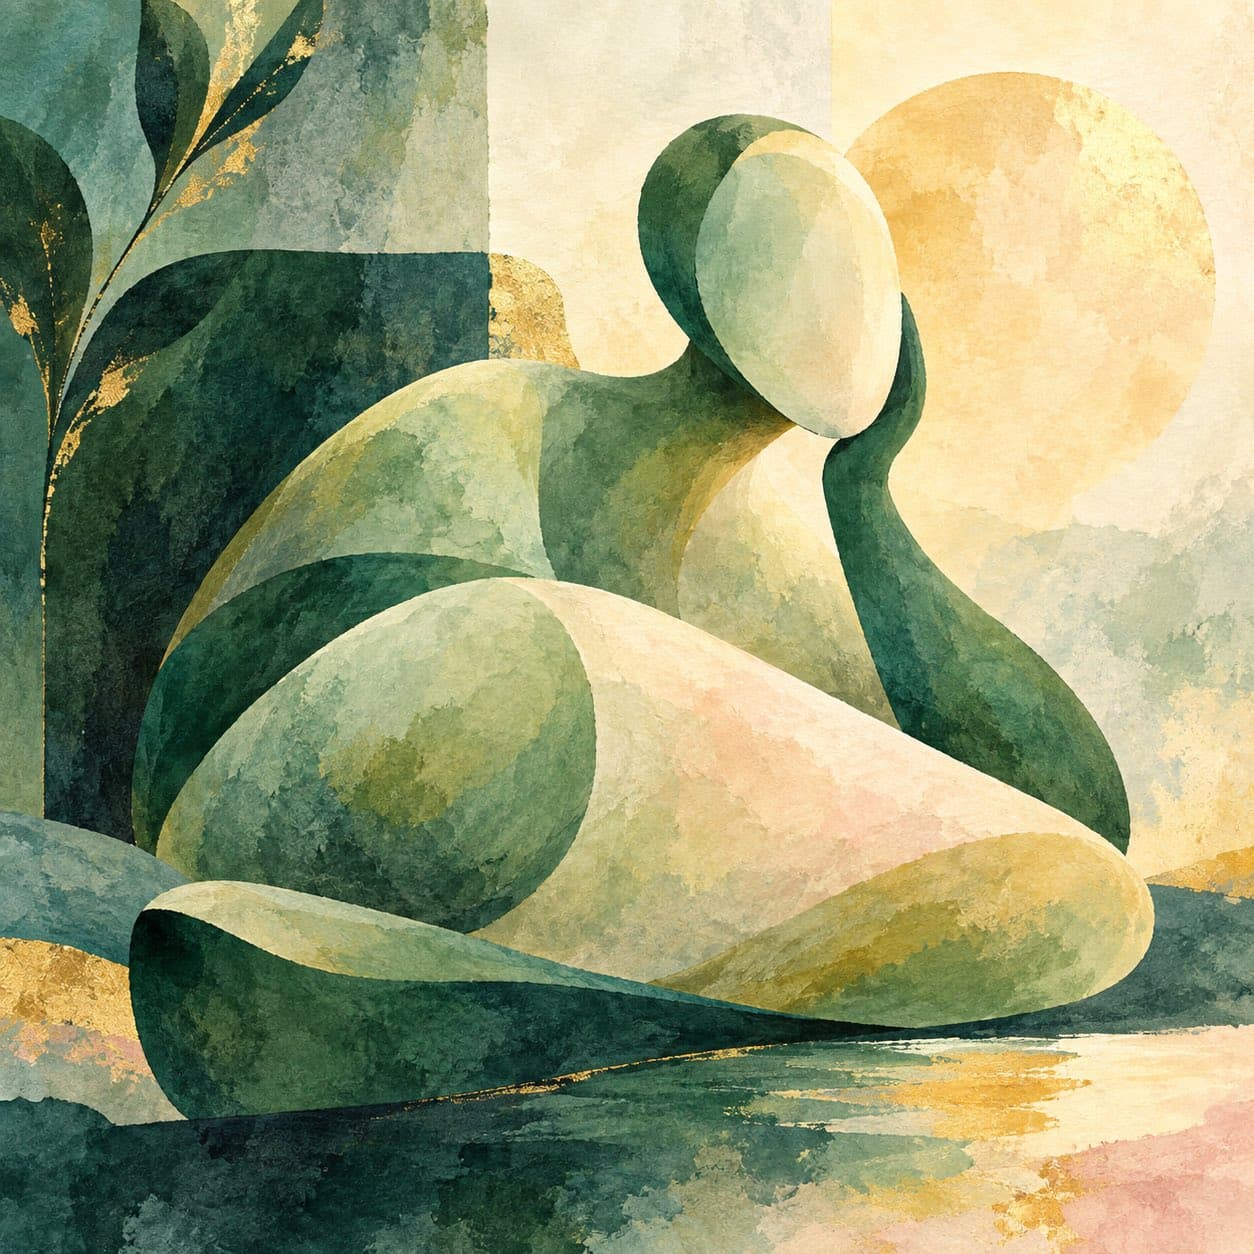
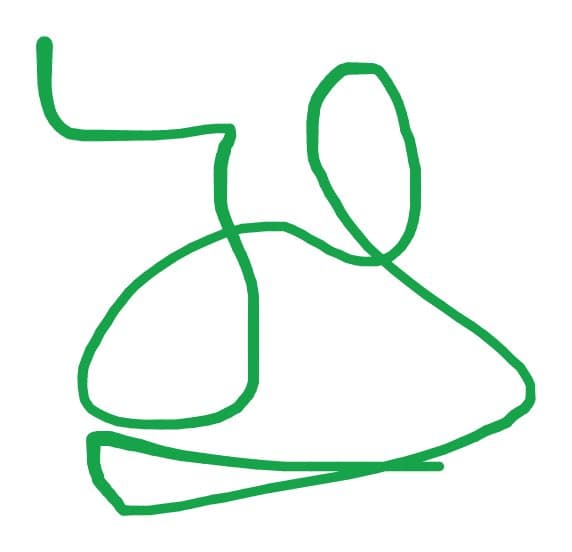
image to image turns a deliberate creative input into a newly generated image that follows the supplied visual structure while moving toward a different style, setting, or finish. Learn the complete image to image workflow through focused steps, practical examples, controls, fixes, and review checks.
Open Image to Image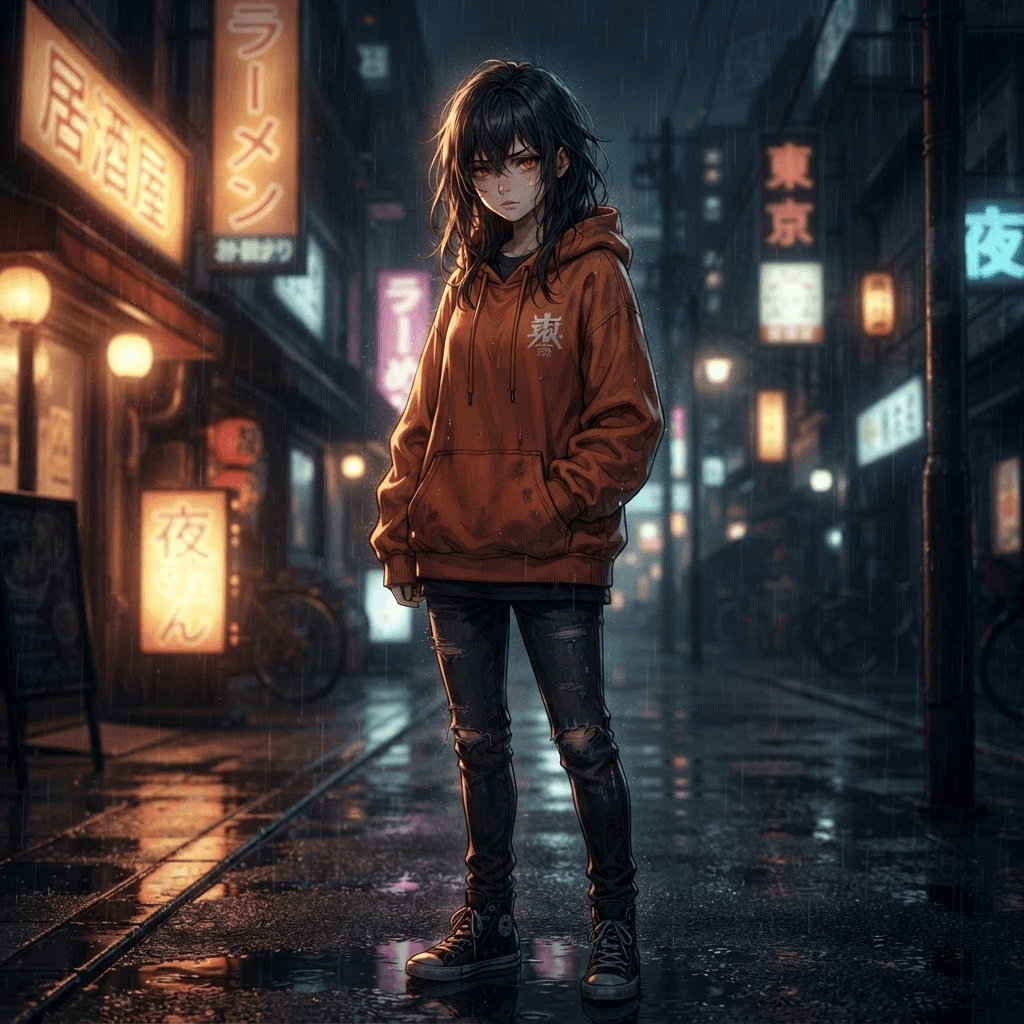
The essential idea
What Is image to image?
image to image is built around an uploaded reference image paired with instructions that explain what should change and what should stay recognizable. It serves creative teams refining concepts, restyling approved assets, exploring variations, or extending a consistent visual direction by connecting source preparation, clear direction, generation, inspection, and revision.
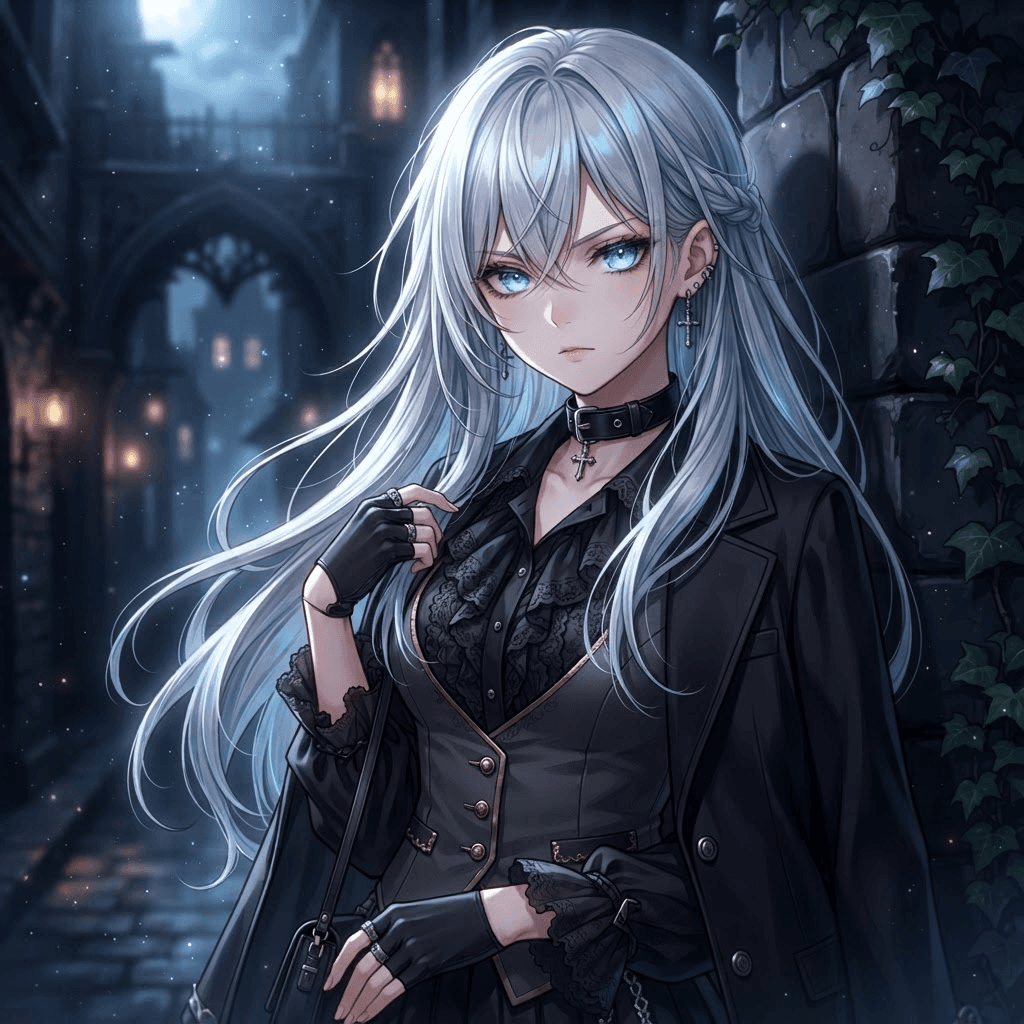
The result is a newly generated image that follows the supplied visual structure while moving toward a different style, setting, or finish. Successful image to image work has a readable subject, a clear purpose, and settings chosen for the final channel.
If the request asks for a broad reinvention without identifying which subject, silhouette, viewpoint, brand feature, or layout must survive, simplify the brief. Clear priorities turn image to image into a repeatable production tool instead of an unpredictable experiment.
Three clear steps
How to Use image to image
Follow this short image to image sequence so each decision has a visible purpose.
Prepare the image to image input
Begin with an uploaded reference image paired with instructions that explain what should change and what should stay recognizable. Decide what the viewer should notice first, remove accidental distractions, and record the subject, required change, and delivery format. This gives image to image a clear target before generation starts.
Set the image to image direction
Define reference strength, prompt specificity, composition, visual identity, material treatment, crop, and output dimensions. Put the subject and main action before style language. Strong image to image direction says what changes, what stays stable, and how the result should finish.
Generate, inspect, and refine
Generate one image to image draft and compare it with the brief. Check the subject, composition, continuity, edges, lighting, and ending. Keep successful choices fixed and revise only the variable connected to the visible problem.
Practical applications
Use Cases for image to image
image to image can serve early exploration and finished delivery. The right use case has a clear viewer, one primary visual message, and an output format selected before generation.
Restyle an approved image without losing its composition
Use image to image for Restyle an approved image without losing its composition. Set one visual priority, choose the delivery format early, and keep secondary detail quiet. Save the source, prompt, and approved settings so the next image to image asset begins from a proven direction.
Create campaign variations from one visual direction
Use image to image for Create campaign variations from one visual direction. Set one visual priority, choose the delivery format early, and keep secondary detail quiet. Save the source, prompt, and approved settings so the next image to image asset begins from a proven direction.
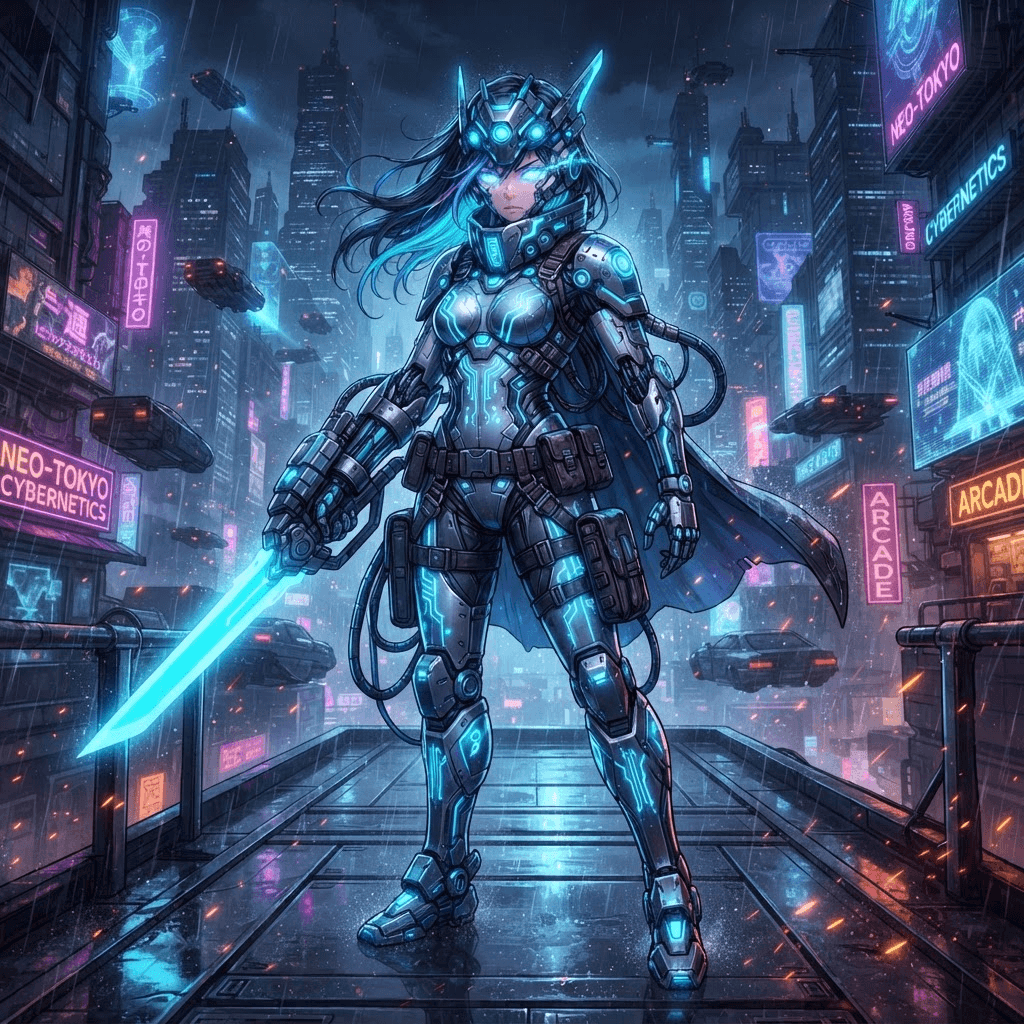
Move a subject into a new setting or material treatment
Use image to image for Move a subject into a new setting or material treatment. Set one visual priority, choose the delivery format early, and keep secondary detail quiet. Save the source, prompt, and approved settings so the next image to image asset begins from a proven direction.
Prompt anatomy
A Clear image to image Prompt Formula
Build the prompt in visible order. Each layer answers a different image to image production question.
- 01
Subject
Name the main subject first. In image to image, the model should never have to guess what owns the frame.
- 02
Action or change
Describe one visible action, transformation, or compositional goal. Keep the image to image event realistic for the available space or duration.
- 03
Environment
State the setting only when it affects depth, light, movement, or meaning. Useful image to image context is concrete and visible.
- 04
Camera and layout
Define viewpoint, crop, camera behavior, or hierarchy. These choices help image to image organize attention instead of scattering it.
- 05
Finish
Specify the ending, material treatment, mood, and output format. A clear finish gives image to image a measurable destination.
Creative control
Why a Structured image to image Workflow Produces Better Results
Capability 01
Deciding which parts of the reference are anchors
Strong image to image work depends on deciding which parts of the reference are anchors. Keep reference strength, prompt specificity, composition, visual identity, material treatment, crop, and output dimensions aligned with that decision. Define what “correct” means before generation, review the output in its final context, and revise the smallest choice that explains a failure.
Capability 02
Separating preservation instructions from transformation instructions
Strong image to image work depends on separating preservation instructions from transformation instructions. Keep reference strength, prompt specificity, composition, visual identity, material treatment, crop, and output dimensions aligned with that decision. Define what “correct” means before generation, review the output in its final context, and revise the smallest choice that explains a failure.
Capability 03
Restyling photography, illustration, and product imagery
Strong image to image work depends on restyling photography, illustration, and product imagery. Keep reference strength, prompt specificity, composition, visual identity, material treatment, crop, and output dimensions aligned with that decision. Define what “correct” means before generation, review the output in its final context, and revise the smallest choice that explains a failure.
Fast diagnosis
Fix Common image to image Problems
Match the visible symptom to one likely cause. This keeps image to image revisions small and measurable.
The subject drifts
Reduce competing actions and repeat the identity anchors that matter. For image to image, protect silhouette, face, product shape, or composition before adding atmosphere.
The result feels generic
Replace broad adjectives with visible details: lens position, material, gesture, lighting direction, or color relationship. Specific image to image language creates decisions the model can render.
The composition breaks
Check the source crop and remove camera instructions that fight it. A stable image to image composition needs compatible depth, scale, orientation, and negative space.
Revision makes it worse
Return to the last successful image to image version. Restore its settings, change one variable, and compare both outputs at the same size or timeline position.
How to Get Better image to image Results
For better image to image results, keep the brief visible during review. Check whether the result preserves the useful anchors from the reference while making the requested transformation easy to recognize. Review the subject before the background, the structure before surface polish, and the complete result before isolated details.
Avoid the common failure where the request asks for a broad reinvention without identifying which subject, silhouette, viewpoint, brand feature, or layout must survive. Simplify the request until the intended change or motion can be described in one sentence. Then add supporting detail only when it clarifies the same image to image goal.
Test one variable at a time. Save the source, prompt, model, ratio, duration, and settings for each useful image to image result. This record makes successful decisions reusable and keeps the next image to image revision based on evidence rather than guesswork.
Before download
Final image to image Quality Checklist
Review these six areas before approving a image to image result for publishing, client delivery, or the next production step.
Brief
Can a reviewer explain the main image to image goal in one sentence?
Subject
Is the subject recognizable, correctly shaped, and visually dominant in the image to image output?
Continuity
Do identity, lighting, perspective, texture, and movement stay coherent throughout image to image?
Artifacts
Have you checked hands, faces, text, logos, edges, reflections, and repeated objects after image to image?
Delivery
Does the final ratio, resolution, crop, duration, and file format match the intended image to image channel?
Rights
Do you have permission to use the source, likenesses, brands, and final image to image asset?
Questions and answers
FAQs About image to image
What is Image To Image?+
image to image uses an uploaded reference image paired with instructions that explain what should change and what should stay recognizable to produce a newly generated image that follows the supplied visual structure while moving toward a different style, setting, or finish. It connects creative direction with a repeatable generation and review process.
How do I start Image To Image?+
Prepare the source, define one primary outcome, choose reference strength, prompt specificity, composition, visual identity, material treatment, crop, and output dimensions, and generate a draft. Review the subject before decorative detail so every image to image setting serves a visible purpose.
How do I improve a weak Image To Image result?+
Find the first clear failure and change one related variable. If the request asks for a broad reinvention without identifying which subject, silhouette, viewpoint, brand feature, or layout must survive, simplify the instruction before adding detail. Controlled image to image iteration makes cause and effect easier to see.
Which settings matter most for Image To Image?+
Focus on reference strength, prompt specificity, composition, visual identity, material treatment, crop, and output dimensions. Their priority depends on the source and final channel, but every image to image choice should reinforce the same subject and outcome.
Can I use Image To Image for professional work?+
Yes. image to image can support concepts, campaigns, product communication, social content, and client production. Confirm source rights and review every output before publishing.
How should I review a finished Image To Image output?+
Inspect the subject, composition, continuity, edges, text, hands, logos, artifacts, and delivery format. Strong image to image work communicates the brief at normal size and remains coherent under close review.
Start Your image to image Workflow
Prepare the source, define one visual outcome, choose the settings that support it, and evaluate the complete image to image result before changing the next variable.
Open Image to Image